JupyterHub Guide
This is a short guide to create and run the notbooks and environments in the JupiterHub for the Master course Microwave Remote Sensing (120.030) at the TU Wien.
Starting JupyterHub
In TUWEL, click on the JupyterHub icon ![]() , which redirects you to your own JupyterLab user environment. You should then select the image for the 120.030 Microwave Remote Sensing 2025W: Science Notebook. Be patient - this can take a couple of minutes.
, which redirects you to your own JupyterLab user environment. You should then select the image for the 120.030 Microwave Remote Sensing 2025W: Science Notebook. Be patient - this can take a couple of minutes.

Please note that all screenshots in this guide refer to the lecture 120.030 Microwave Remote Sensing (2025W), even if a few things are different for you, the overall functionality and interface remain the same.
Exploring JupyterLab
When you start your server for the first time, your point of entry will be this starting page:
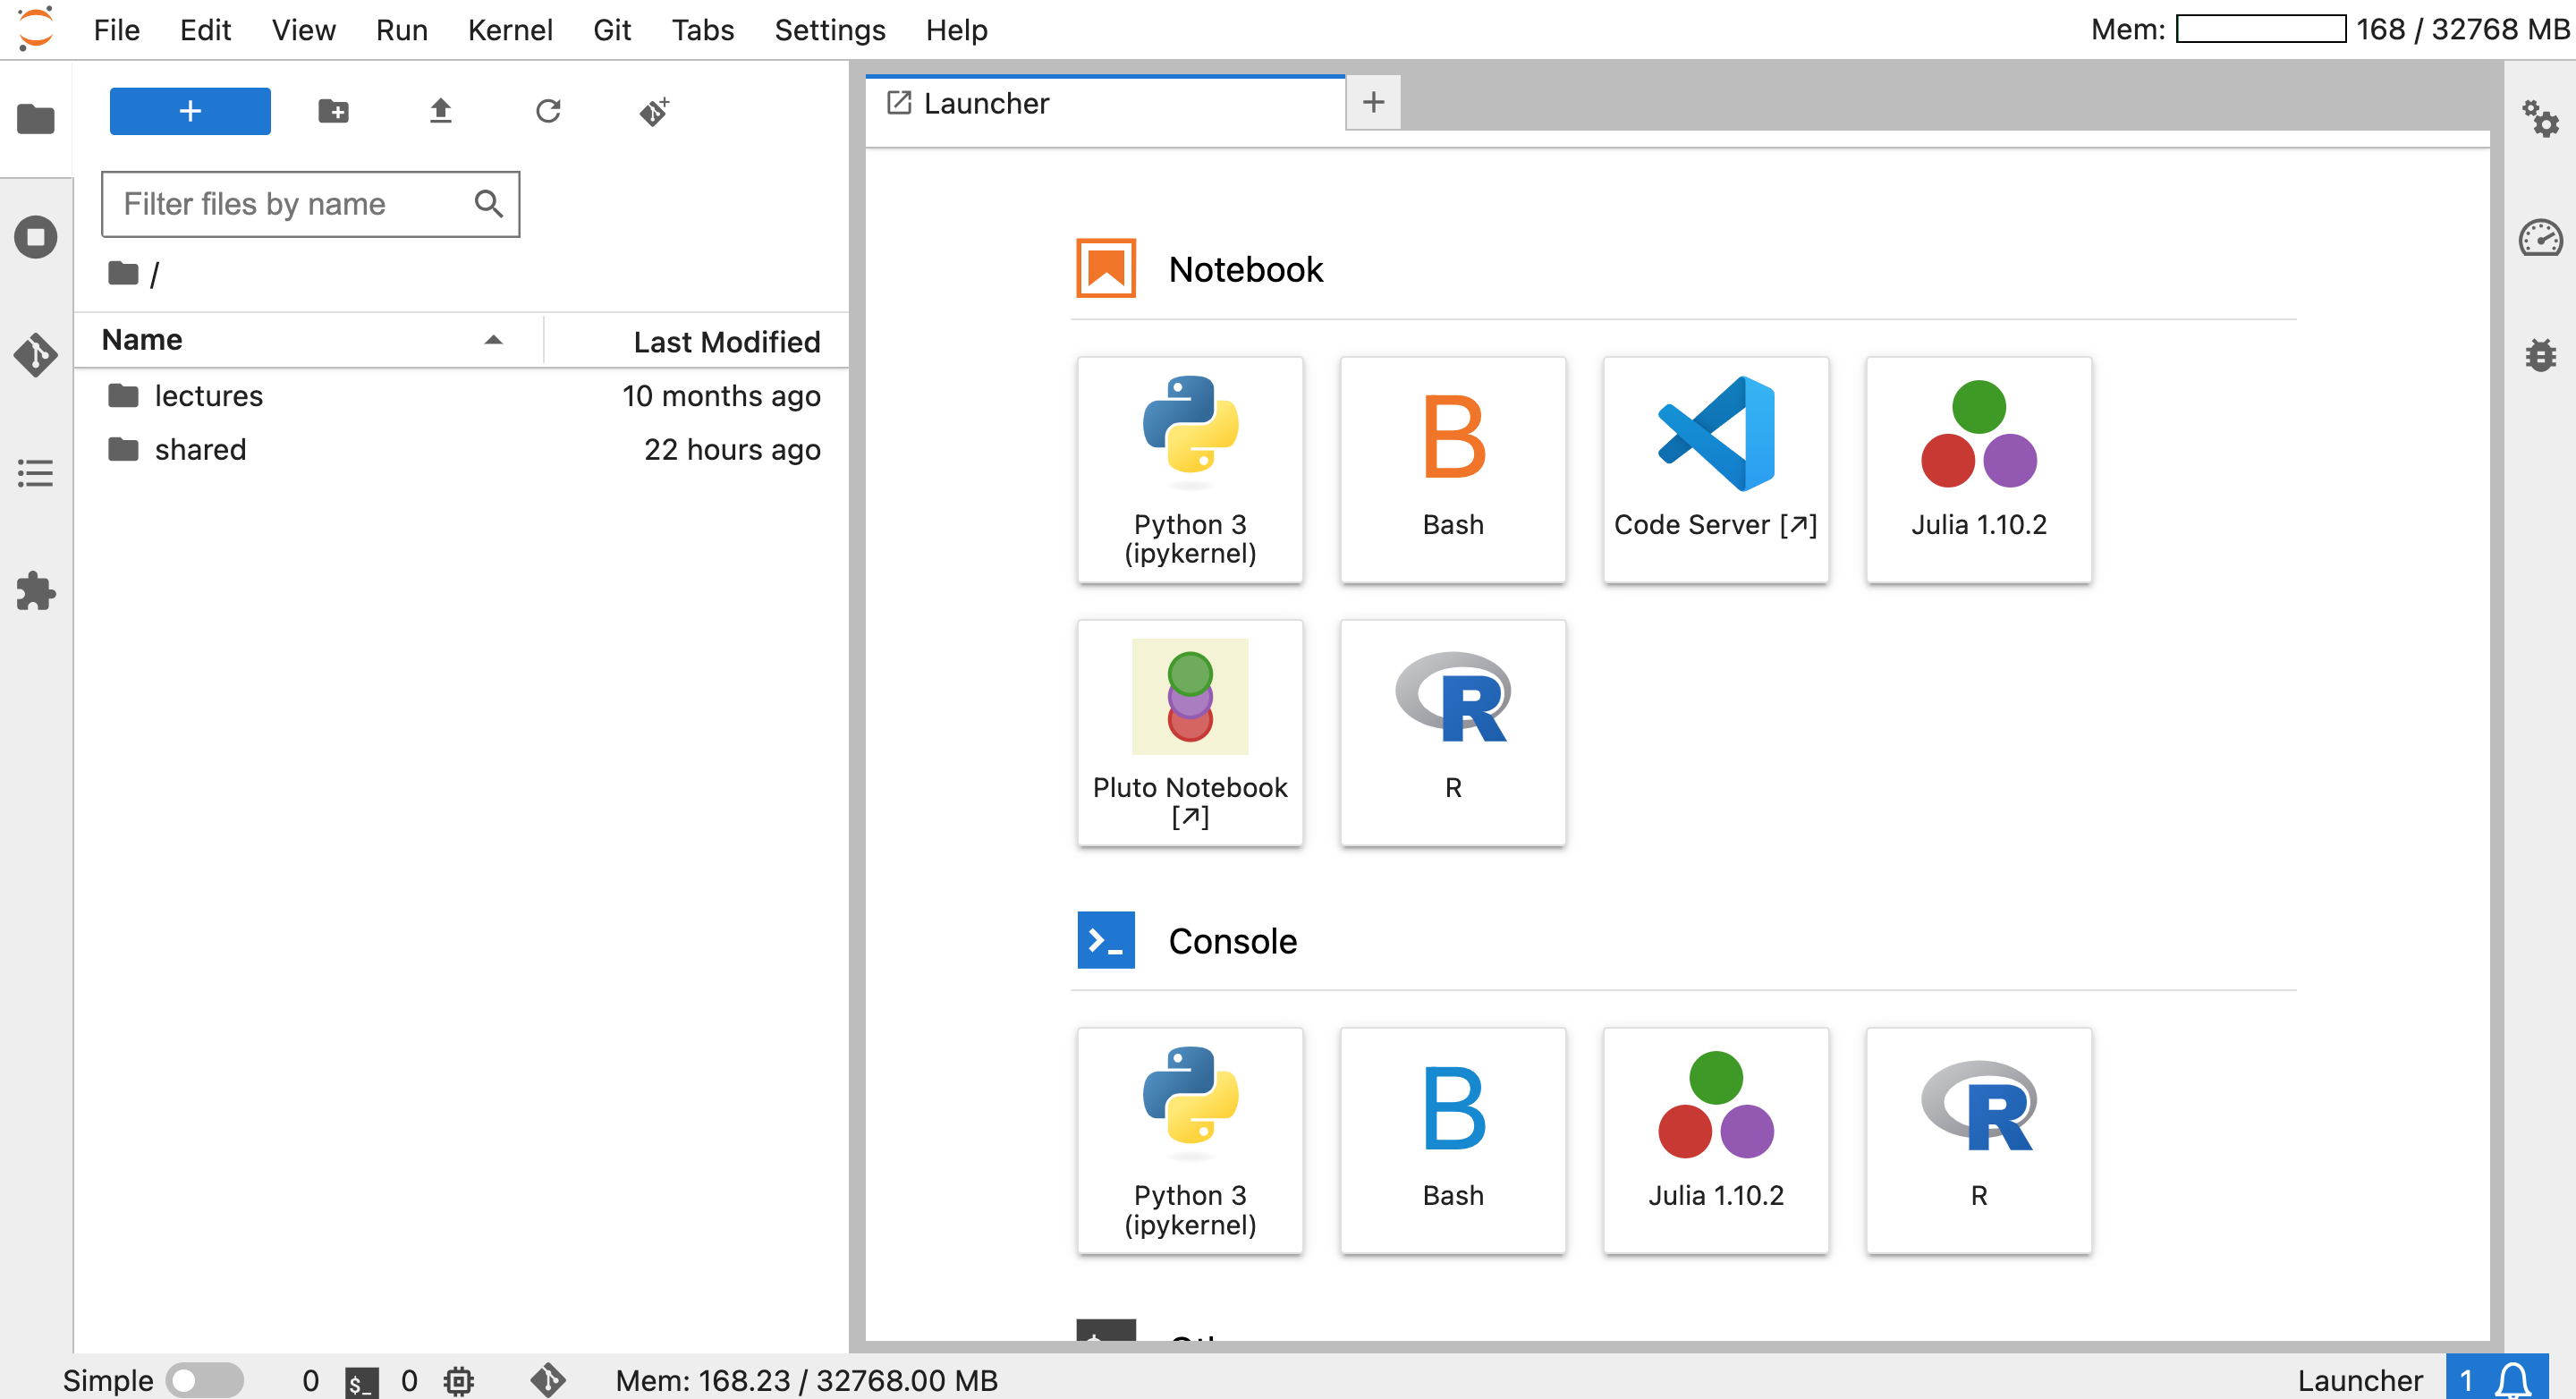
In the center, you have the Launcher where you can create Python or other files, play around with Jupyter Notebooks, store intermediate data. You can also open a Python console, a terminal, a text file, and many more. On the left, you can see your home directory where you have the folders microwave-remote-sensing, lectures and shared. There might be other folders as well, but don’t be concerned about them. The folder microwave-remote-sensing contains the course materials.
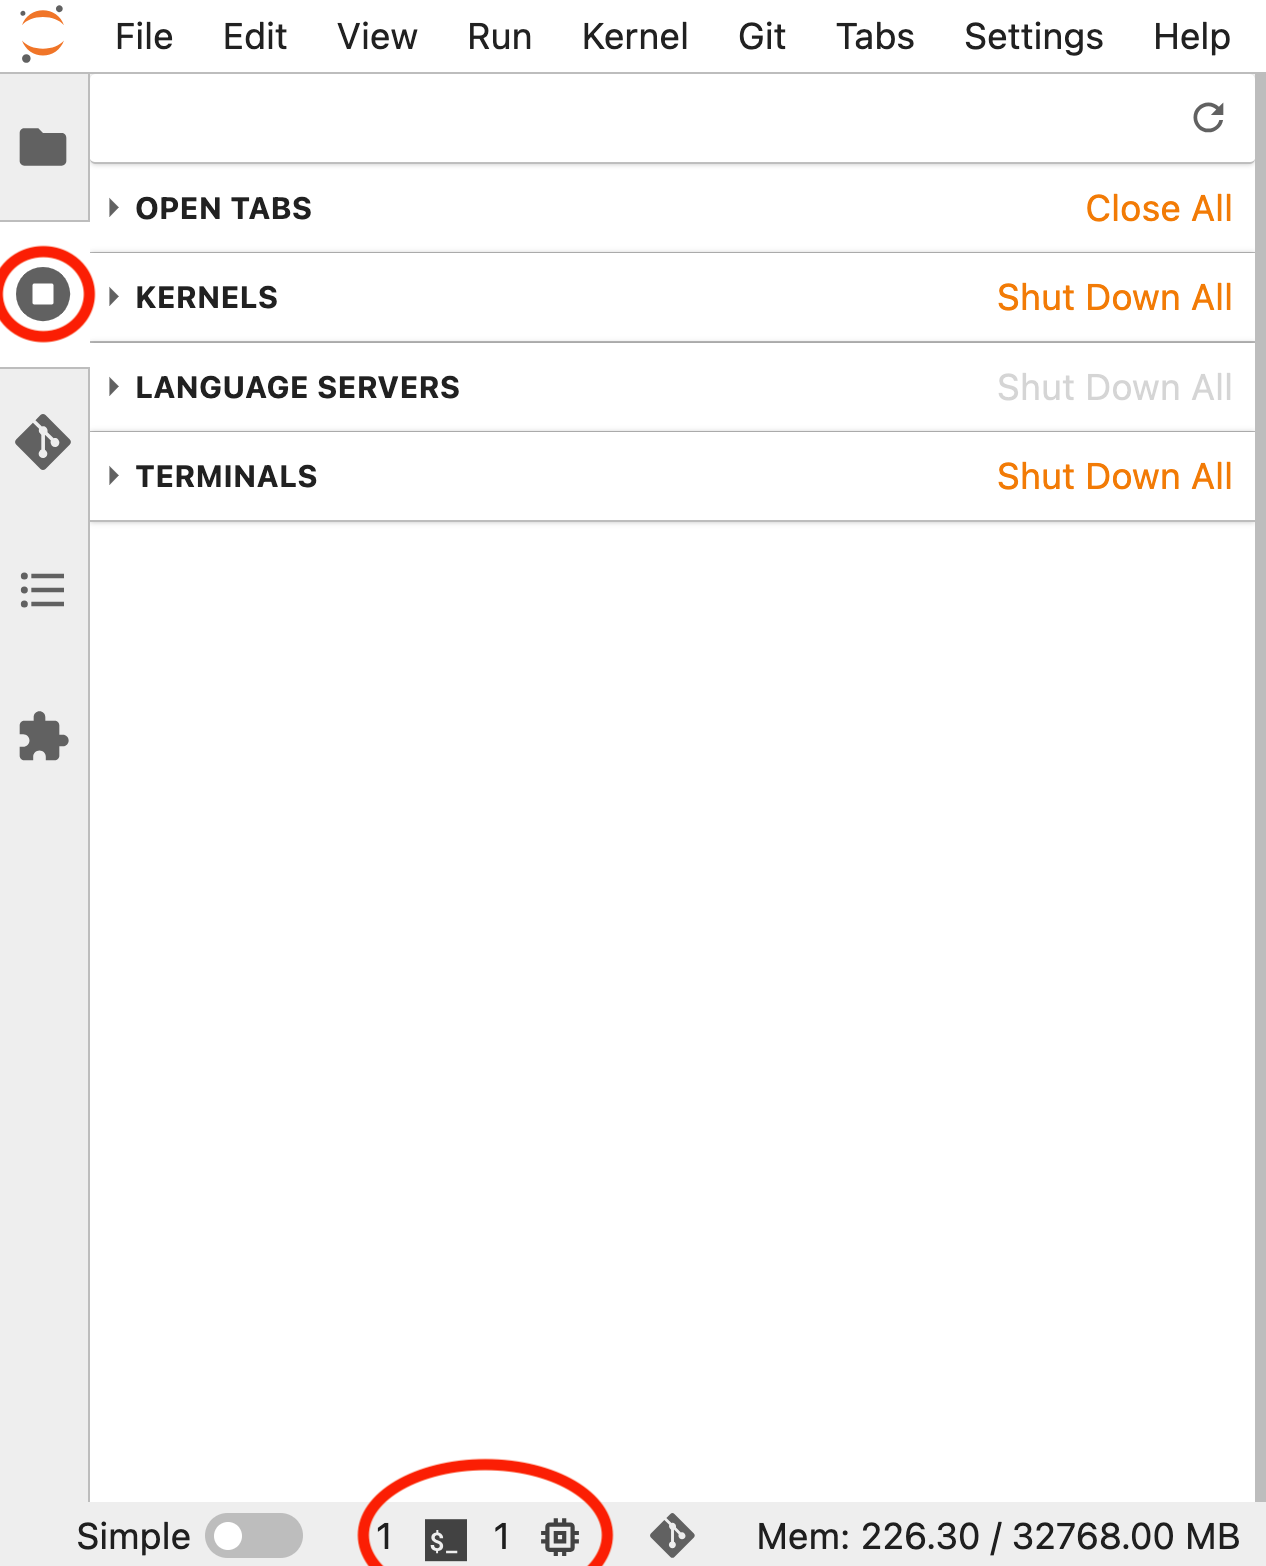
After some intense coding and analysis, it can happen that you have many terminal and notebook tabs open. However, simply closing them does not quit the processes and running kernels in the background. Therefore, we recommend that you tidy up your running processes after some time, which can be done as marked by the top-left circle. As an overview, the number of running kernels and terminals are always shown at the bottom-left corner.
Fetch Jupyter Notebooks
The Jupyter notebooks for the course can be obtained by executing the following command from the terminal line.
Start by launching a terminal.
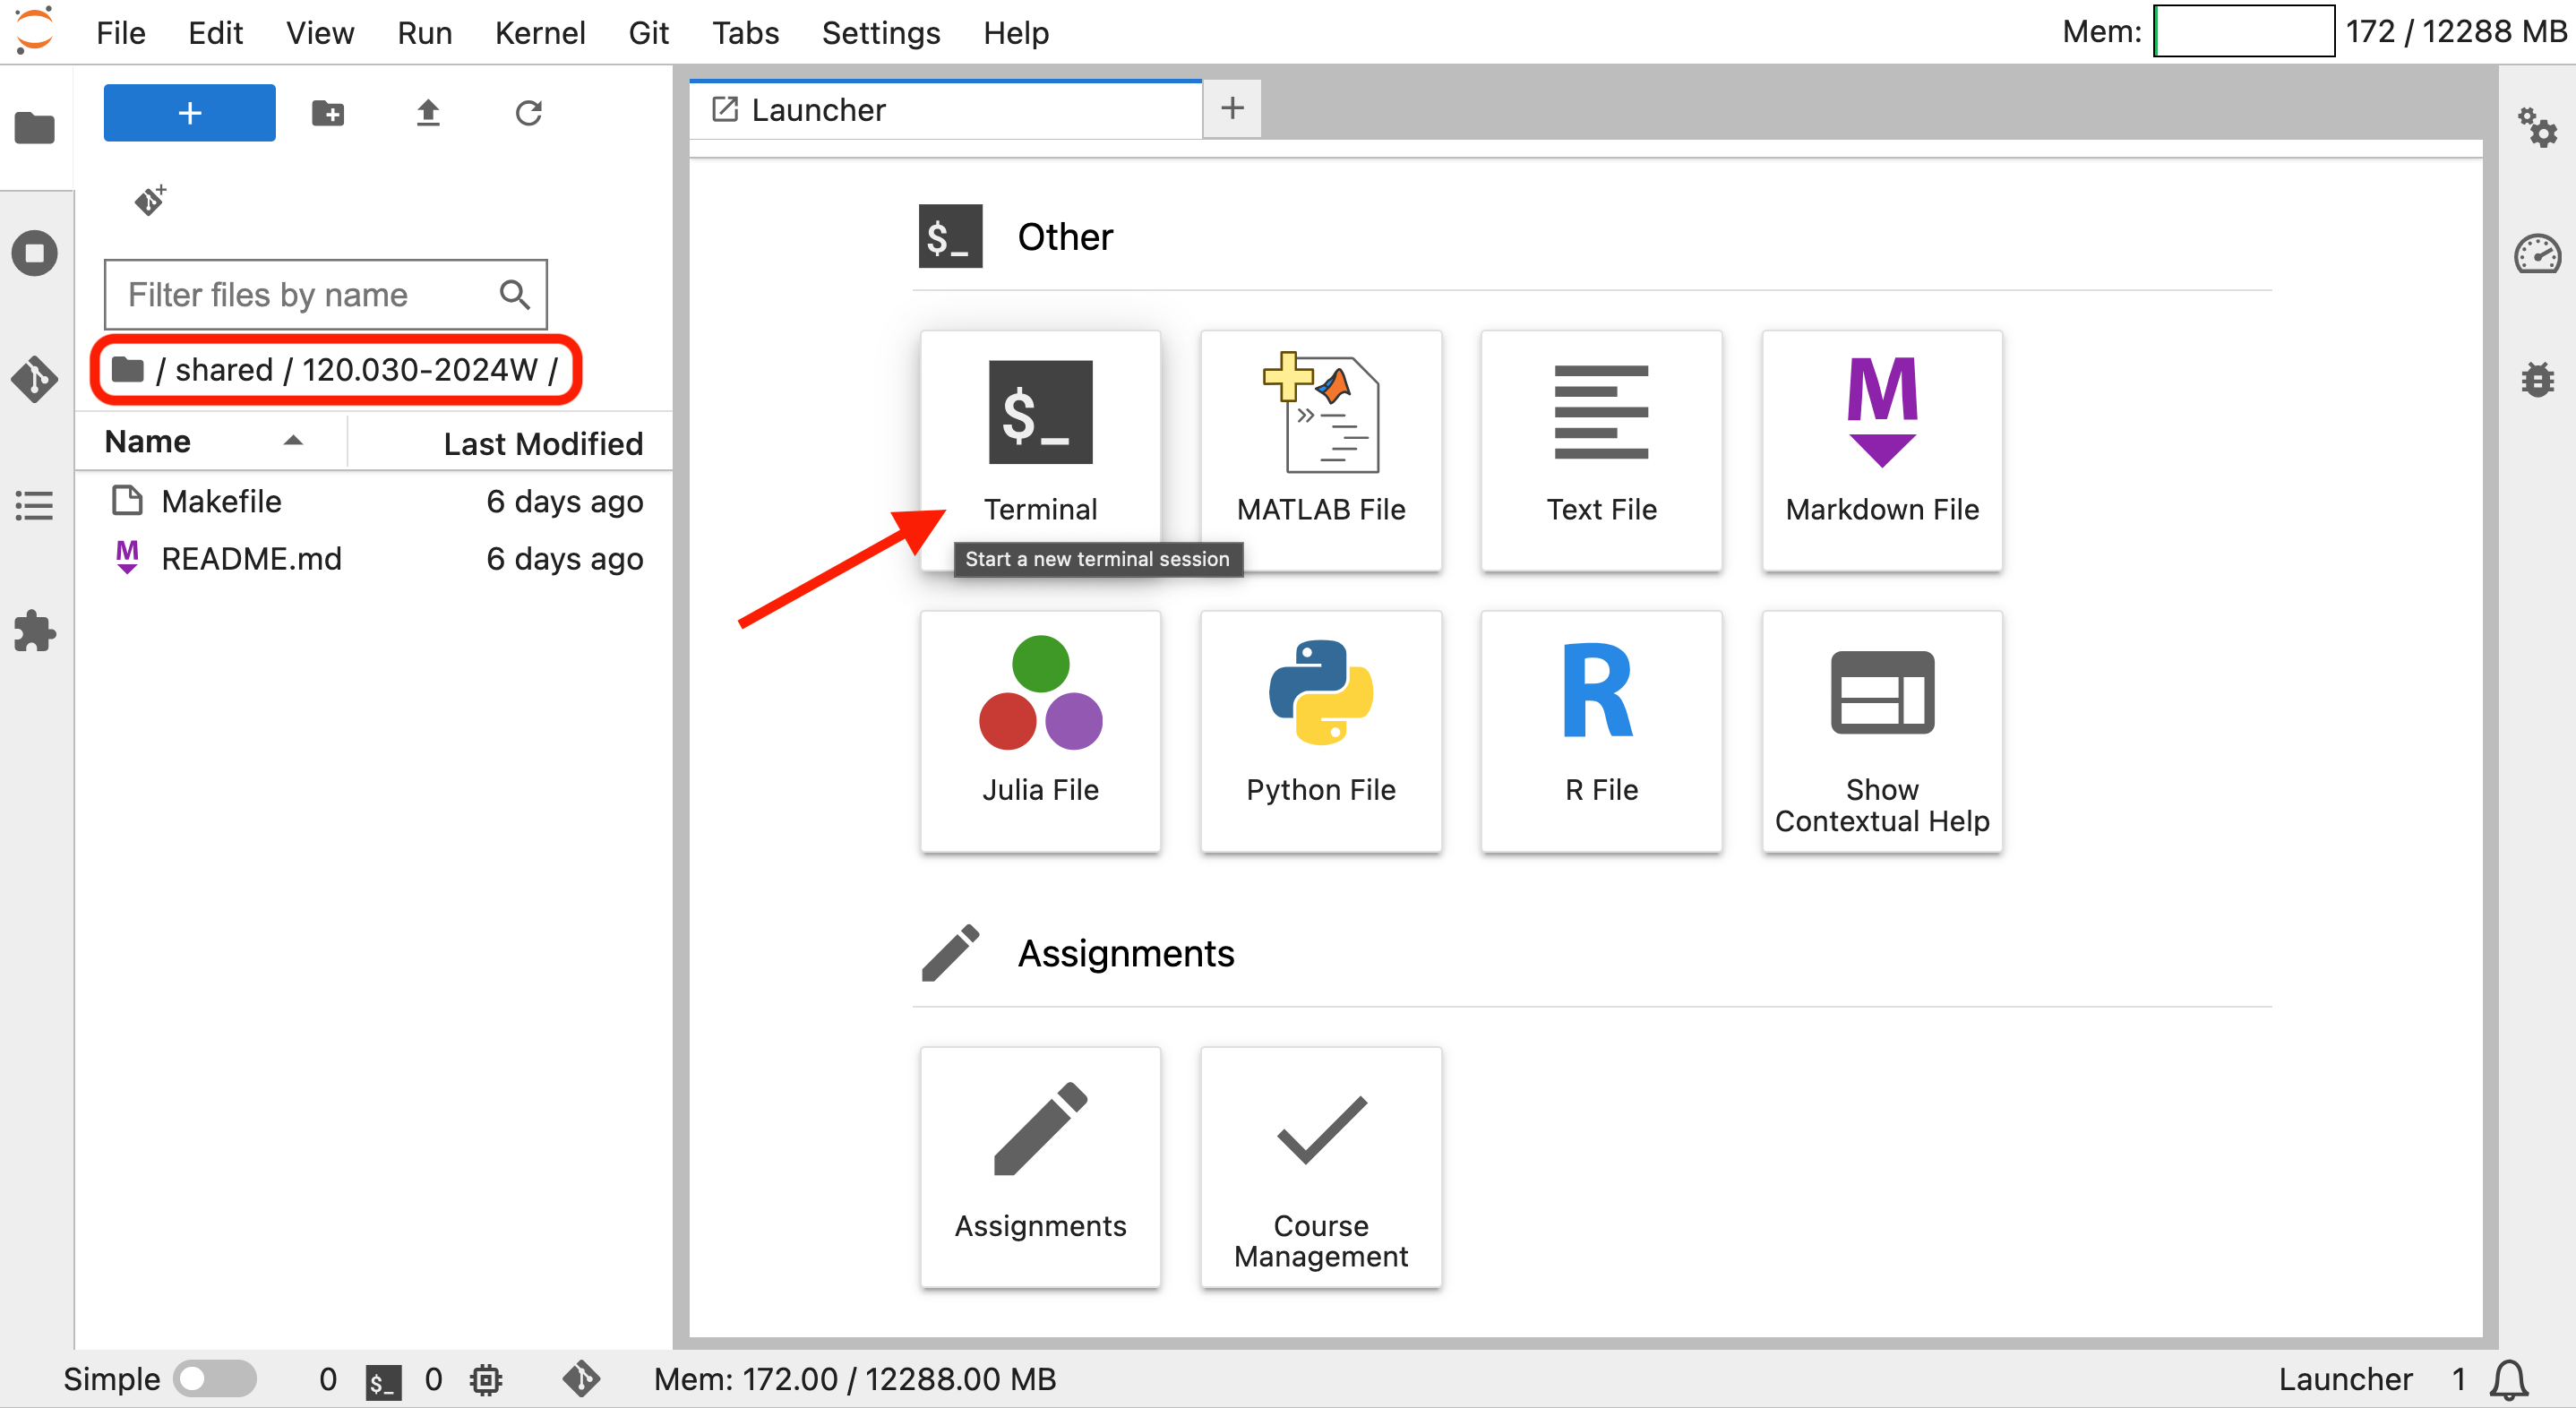
Then type the following at the prompt.
git clone --depth=1 --branch tuwel https://github.com/TUW-GEO/microwave-remote-sensing.gitEditing Jupyter Notebooks
The homework exercises of the course are labeled as homework_exercise.ipynb. You are supposed to use these notebooks for the homework assignments and the completed notebooks should be submitted through TUWEL. The notebooks consist of two types of cells: Python and Markdown cells. Python cells contain executable Python code, whereas Markdown cells are used for open text and multiple choice questions. Double click on an existing cell to alter its content. To add new cells click select the cell type from the drop-down menu and click on the plus sign, as follows for Python cells:

And for Markdown cells:

For the multiple choice questions double click on the Markdown cell and replace the correct answers, as follows:
- [ ] Original
- [x] Selected answerTo save your work use the drop-down menu under File and select Save Notebook or use the shortcut CTRL + S.